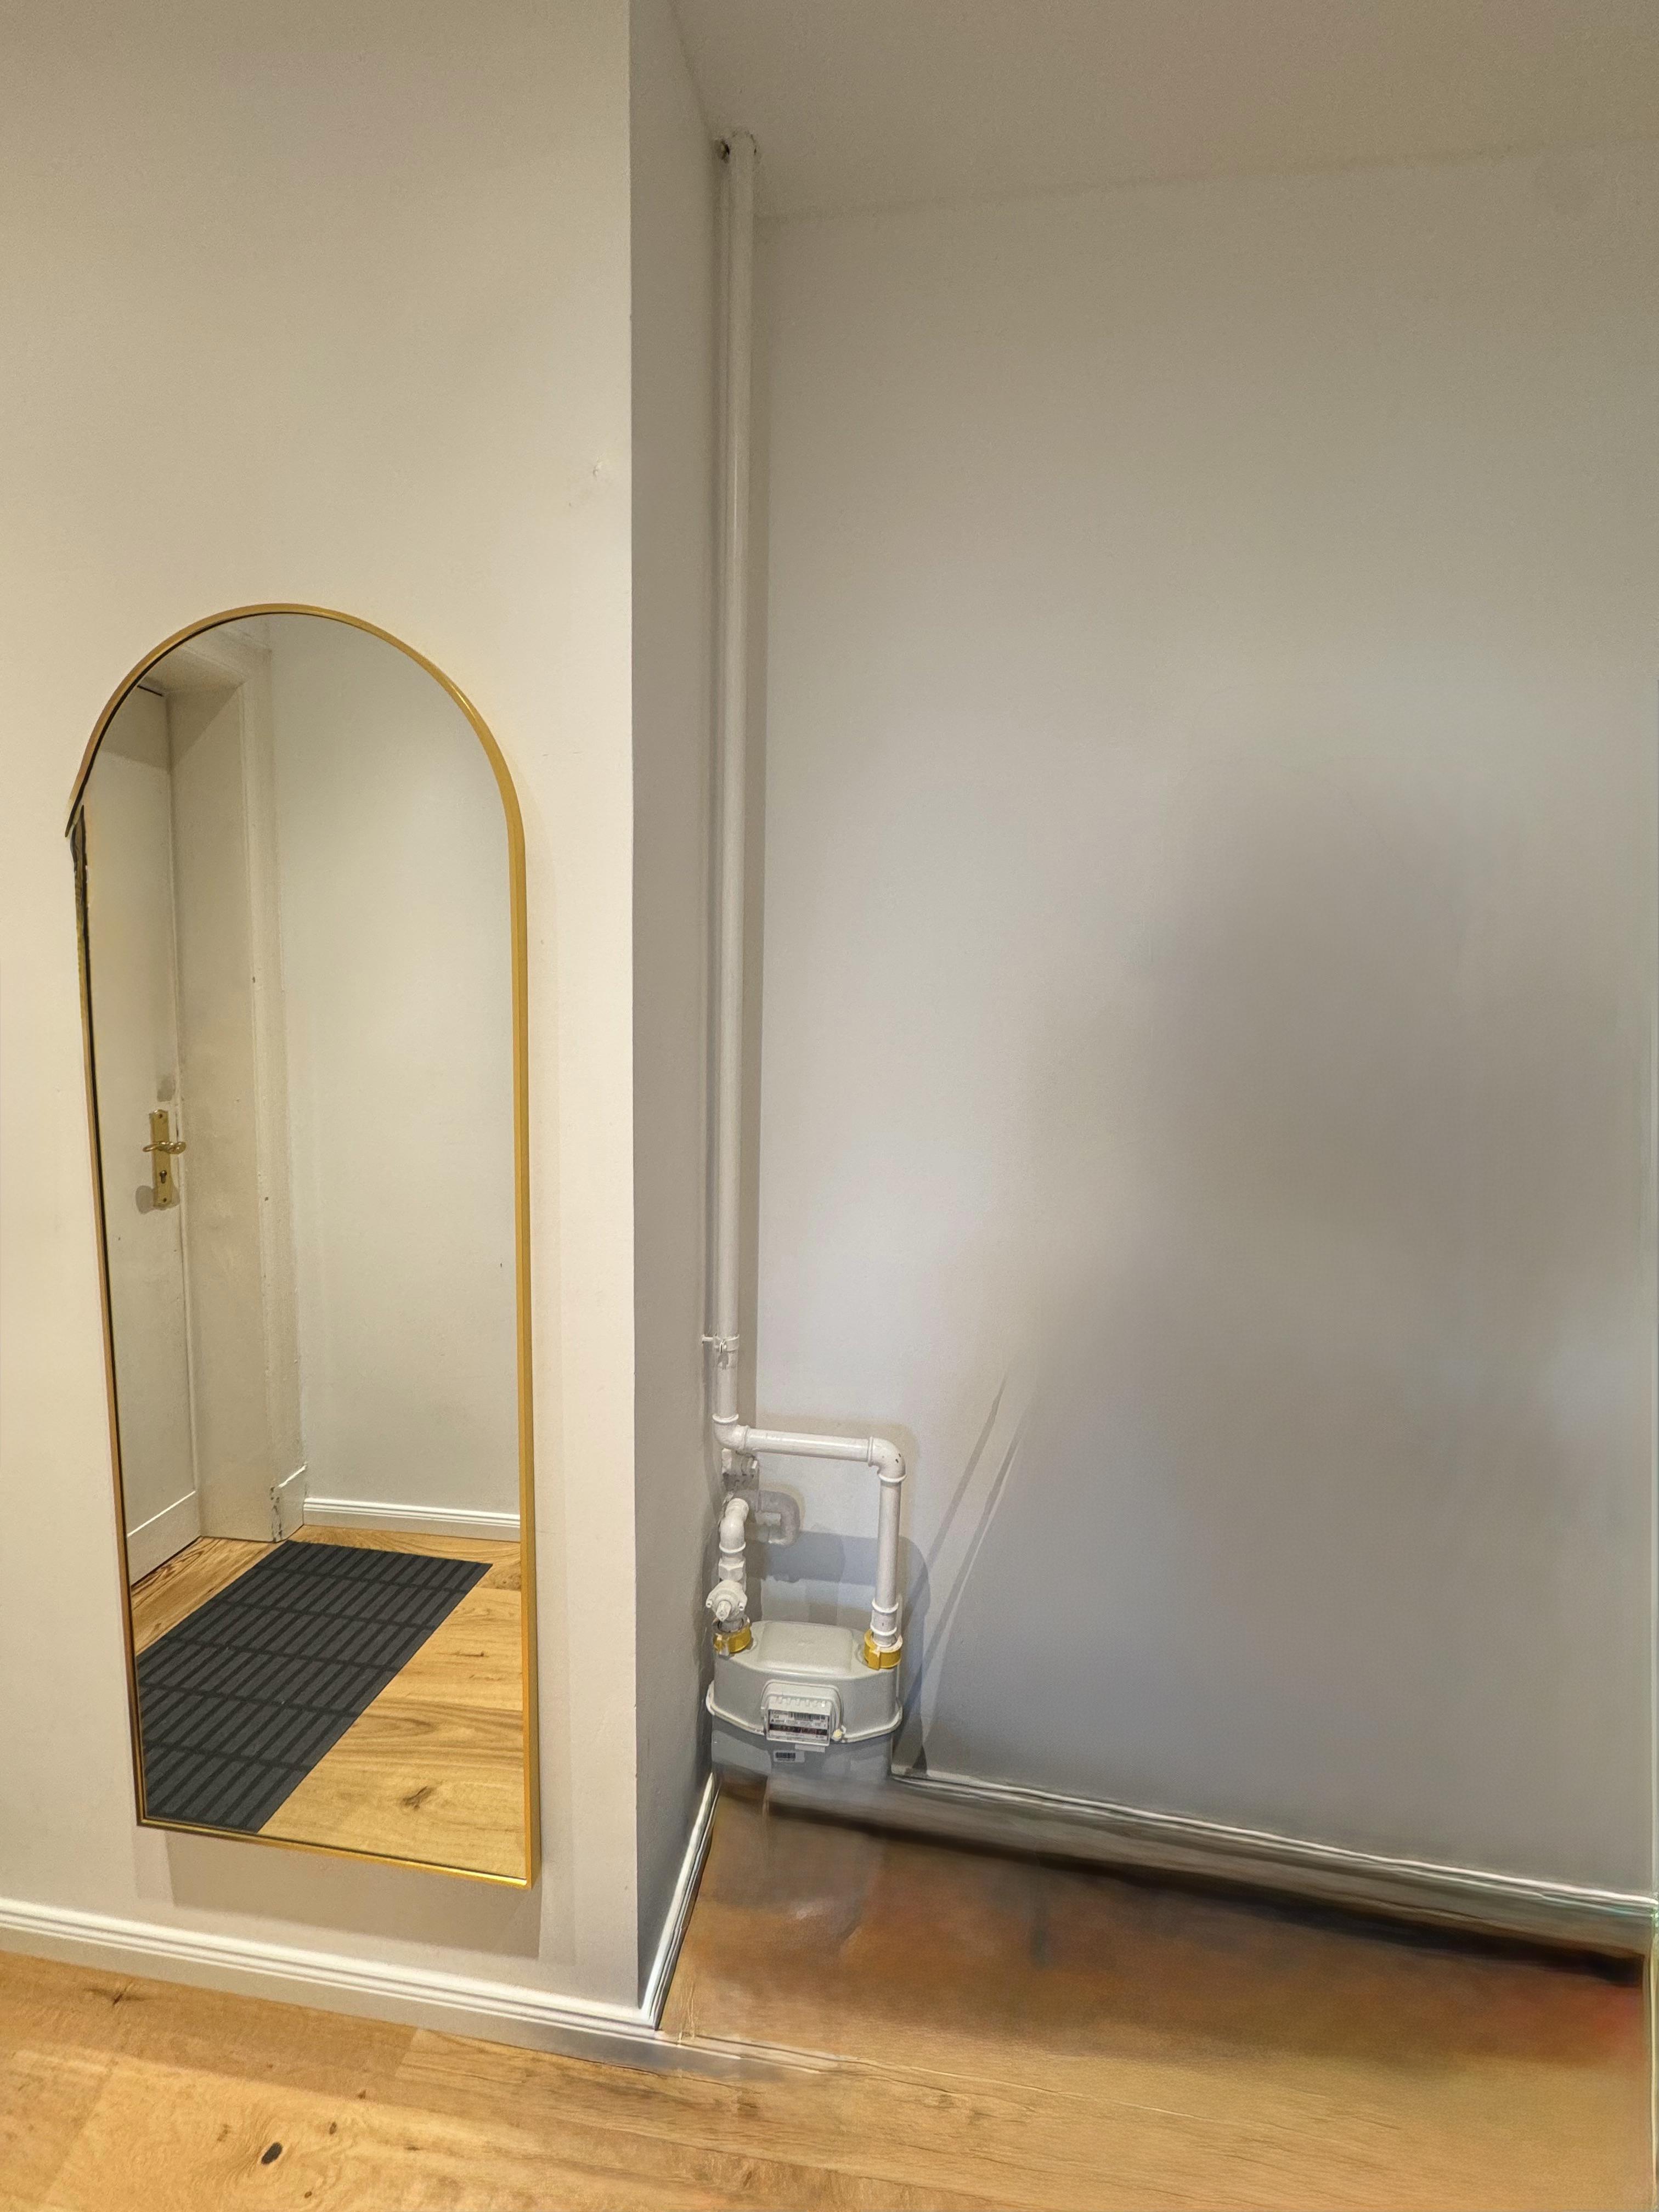
Problem
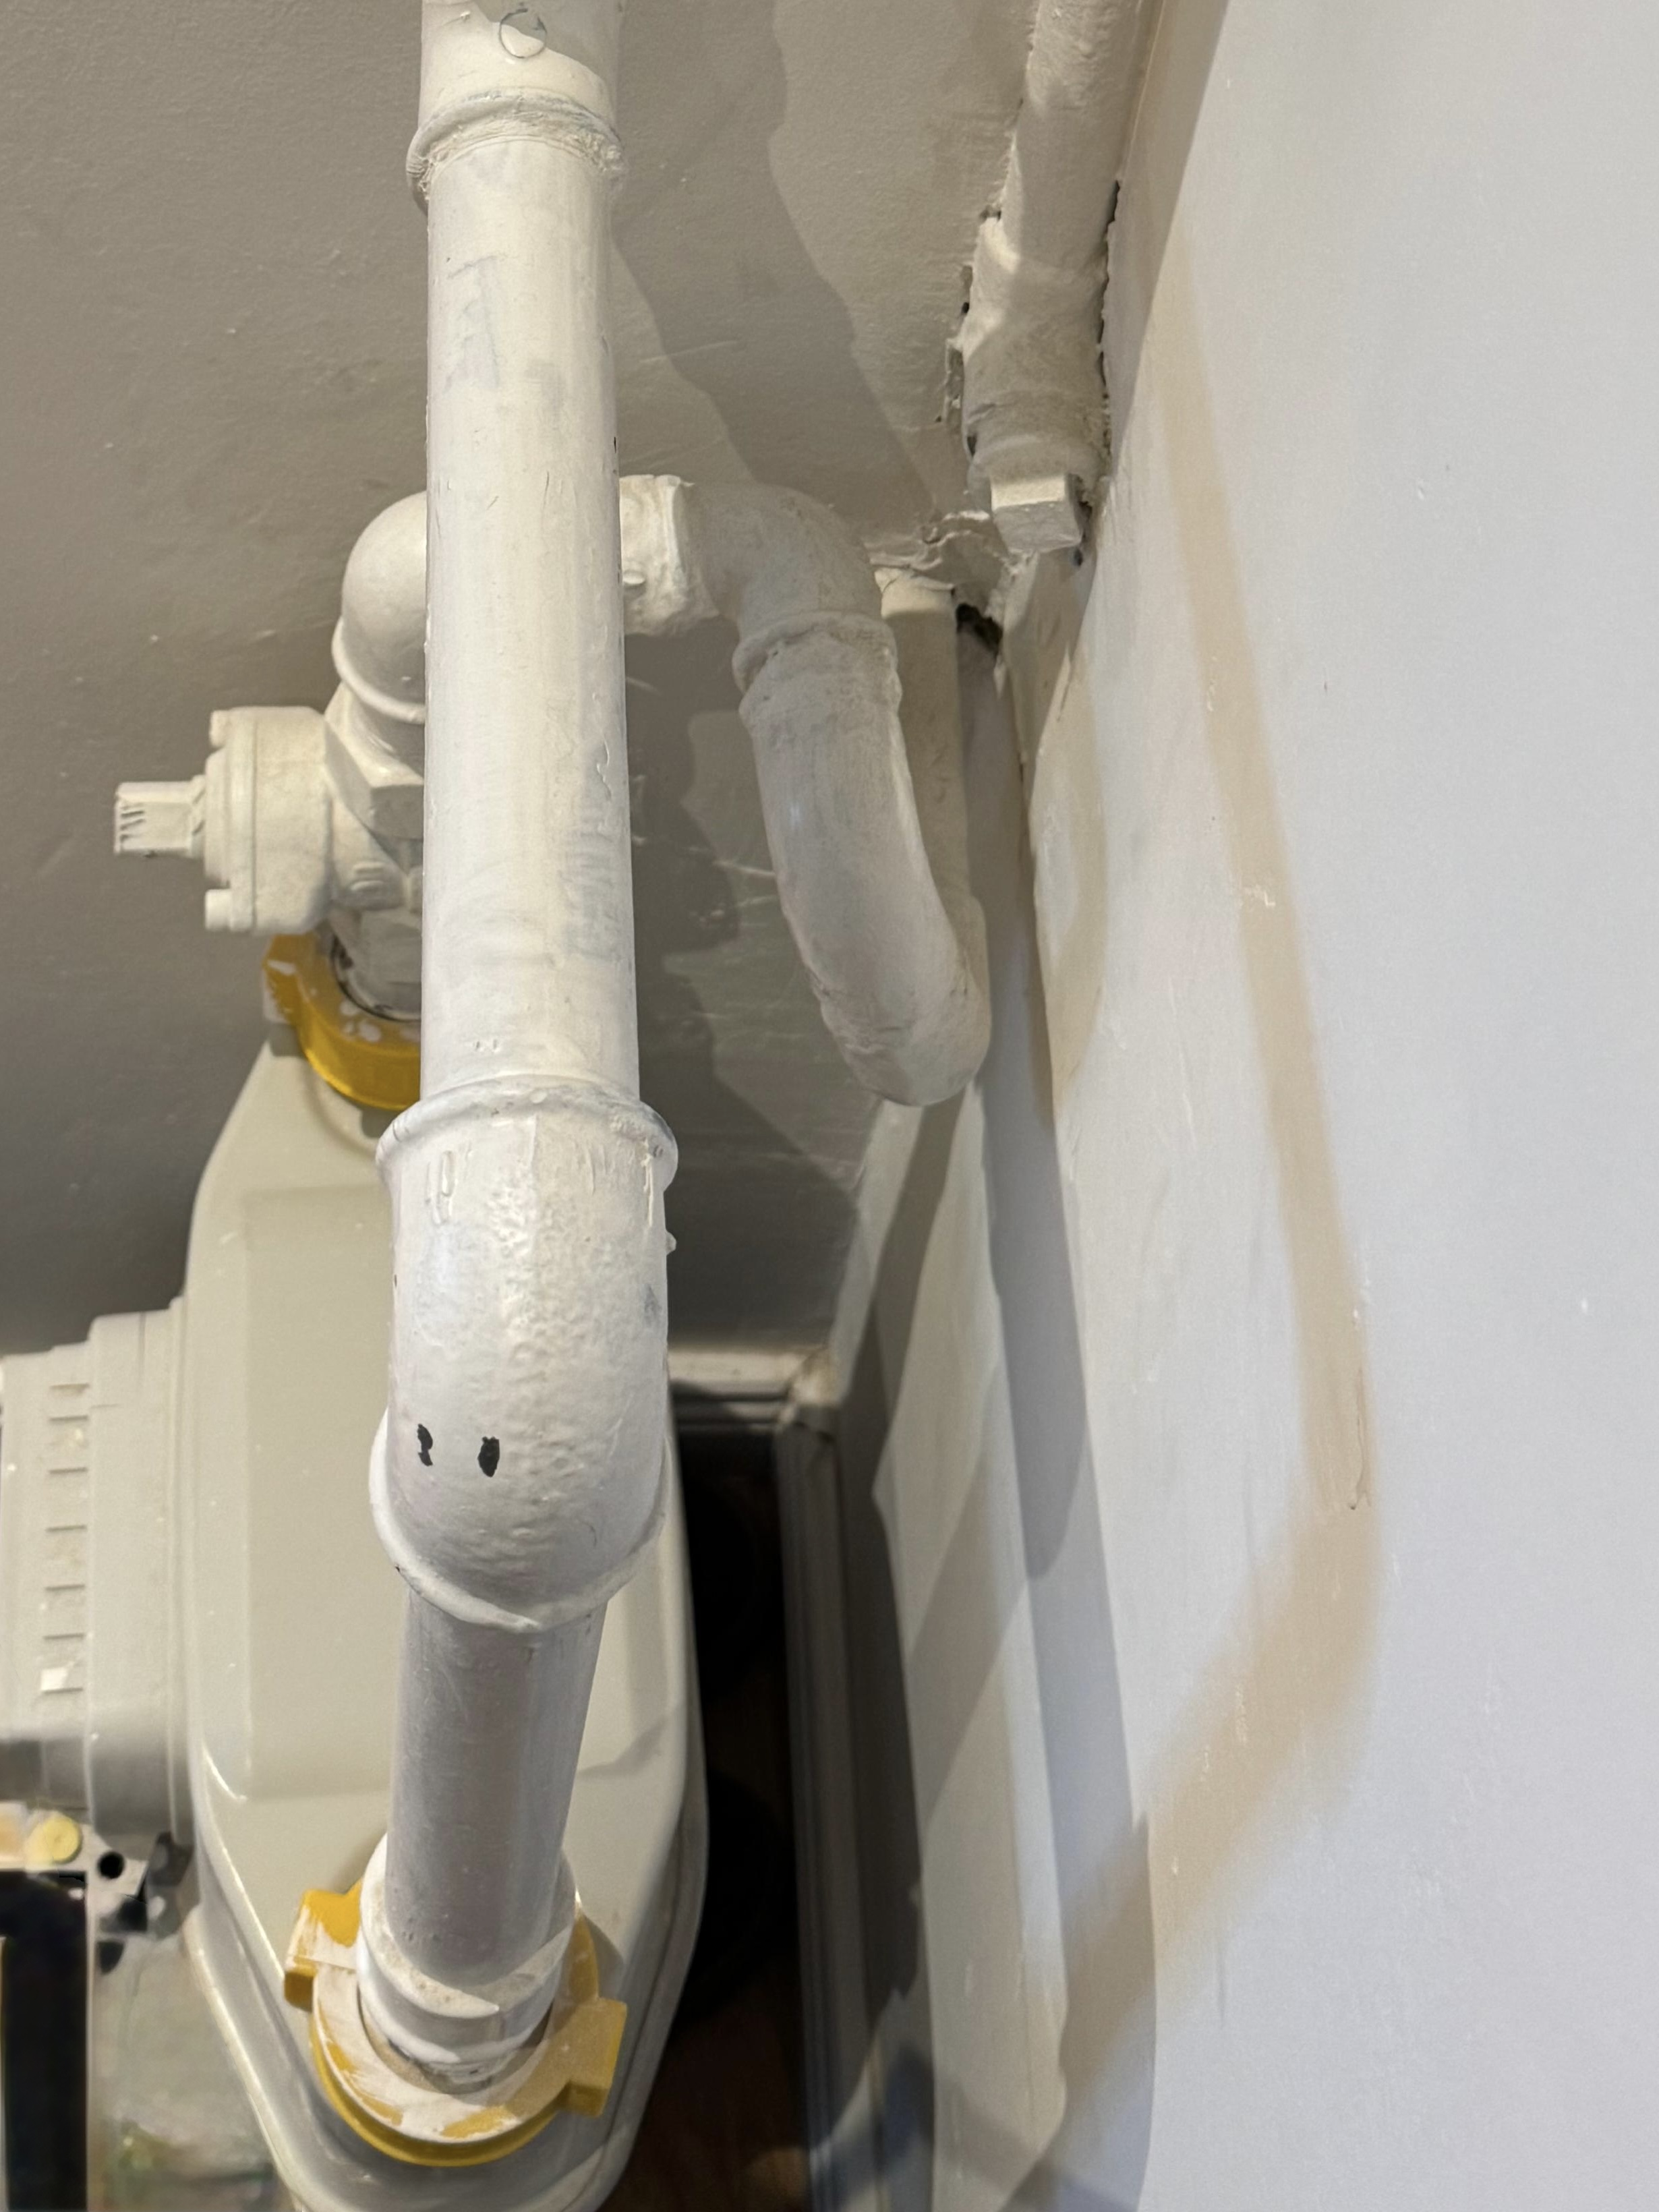
Our apartment has some terrible looking gas pipes at the entrance. So I was looking for some options to hide/cover them, or blend them in better with the environment.
Before starting this project, I considered:
- Repainting the pipes in a contrasting color, going for the exposed/industrial look.
- A custom built closet, surround the pipes. - Too expensive and I lack the DIY skills.
- Buying a DIY closet, and modifying it with custom cutouts to cover the pipes. - I decided on this approach
Solution
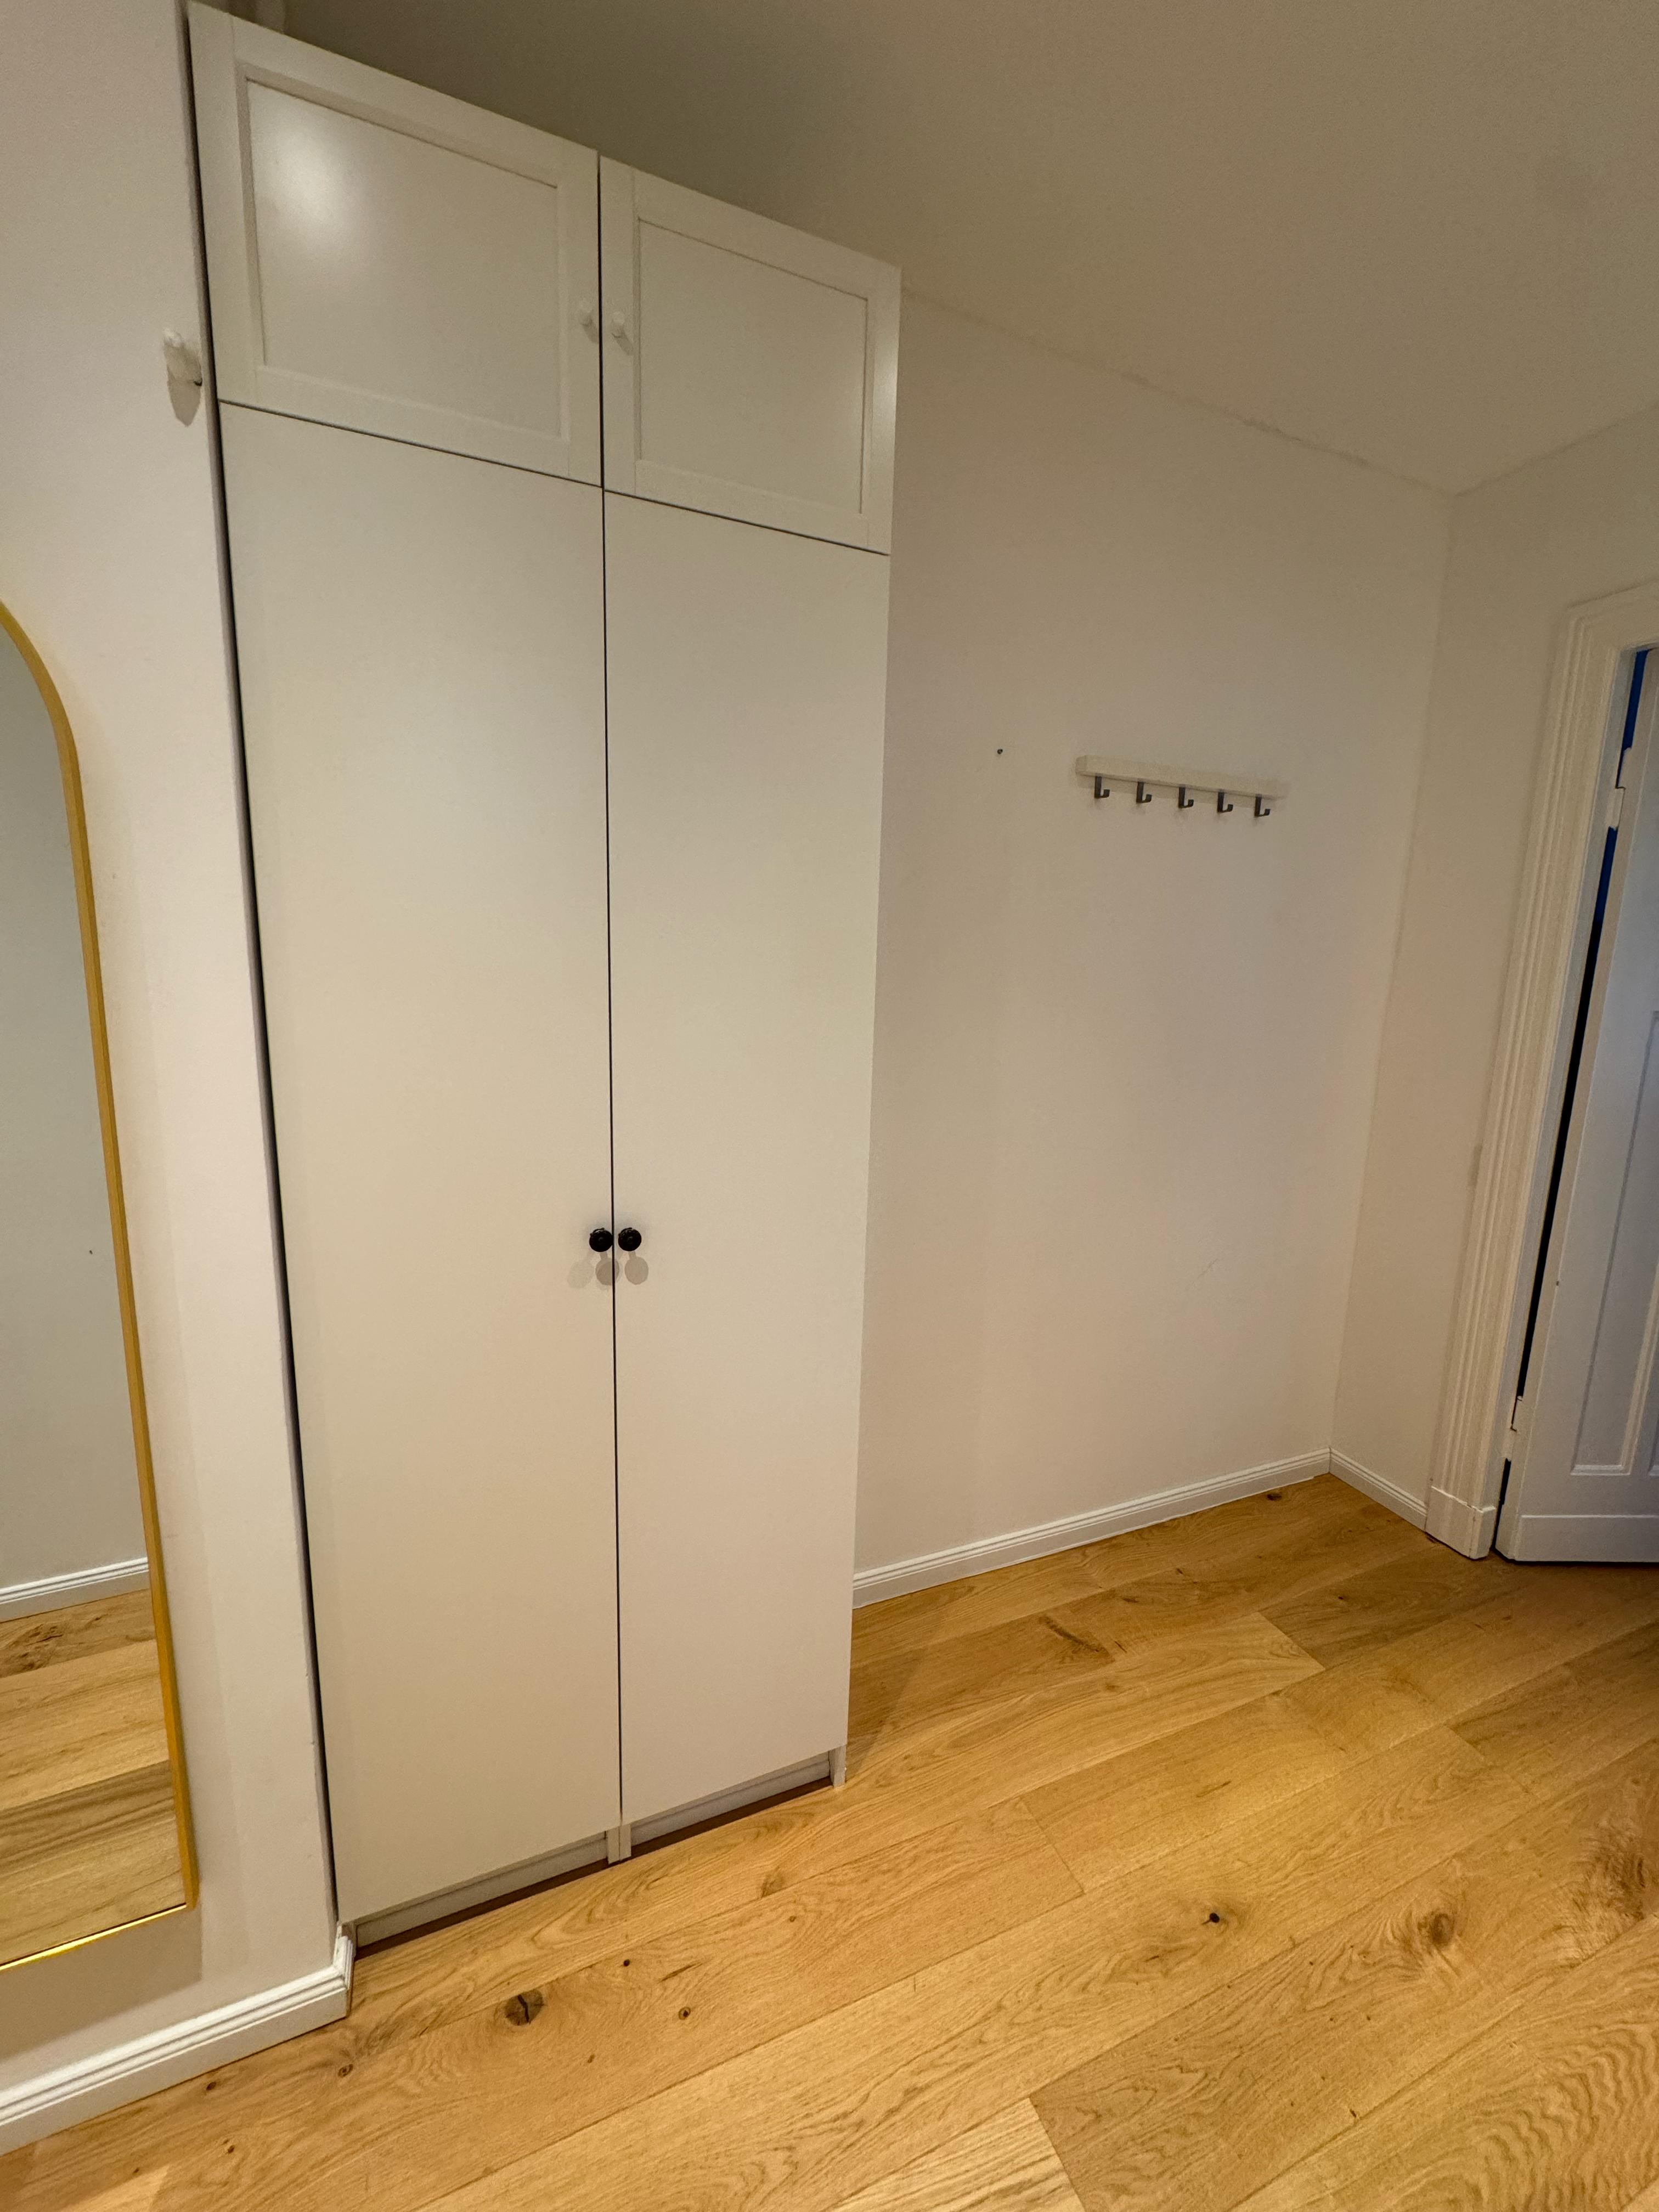
I settled on modifying a cheap IKEA Billy closet. They are easy to find, and if things go wrong, I'm not ruining expensive furniture. The standard sizes make it easy to get replacements / spare parts if needed.
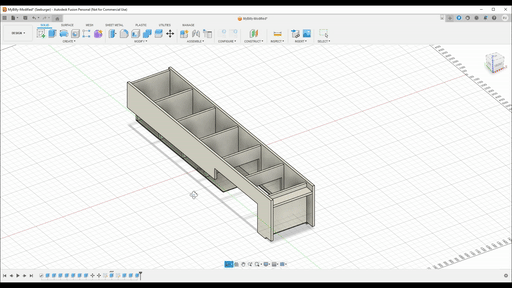
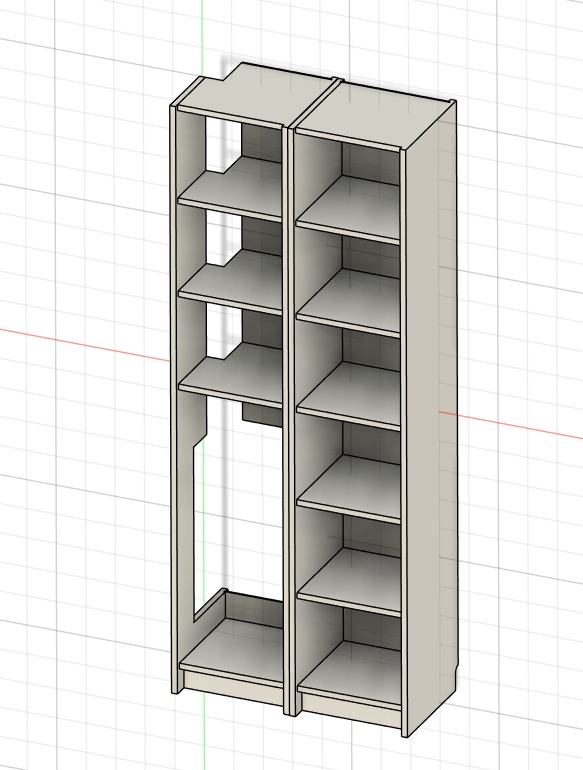
I went with 2x narrow (40x39x237 cm) Billys, instead of 1x broad (80x39x237 cm) one, mainly for structural support. The CAD drawings for these are readily available. I used Fusion360 to customize these for my use-case.
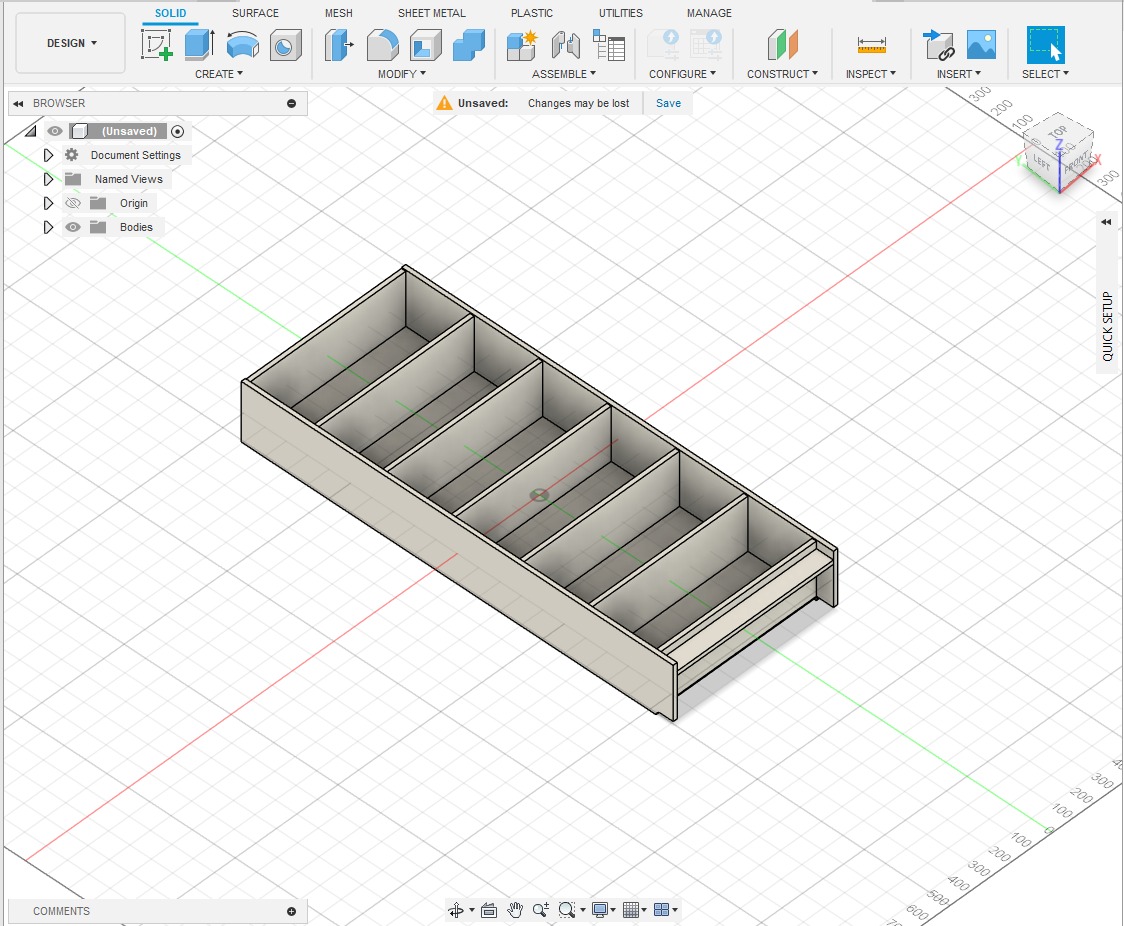
It was easy to customize to convert it to the narrow version, then I created an assembly of 2 of these next to eachother.
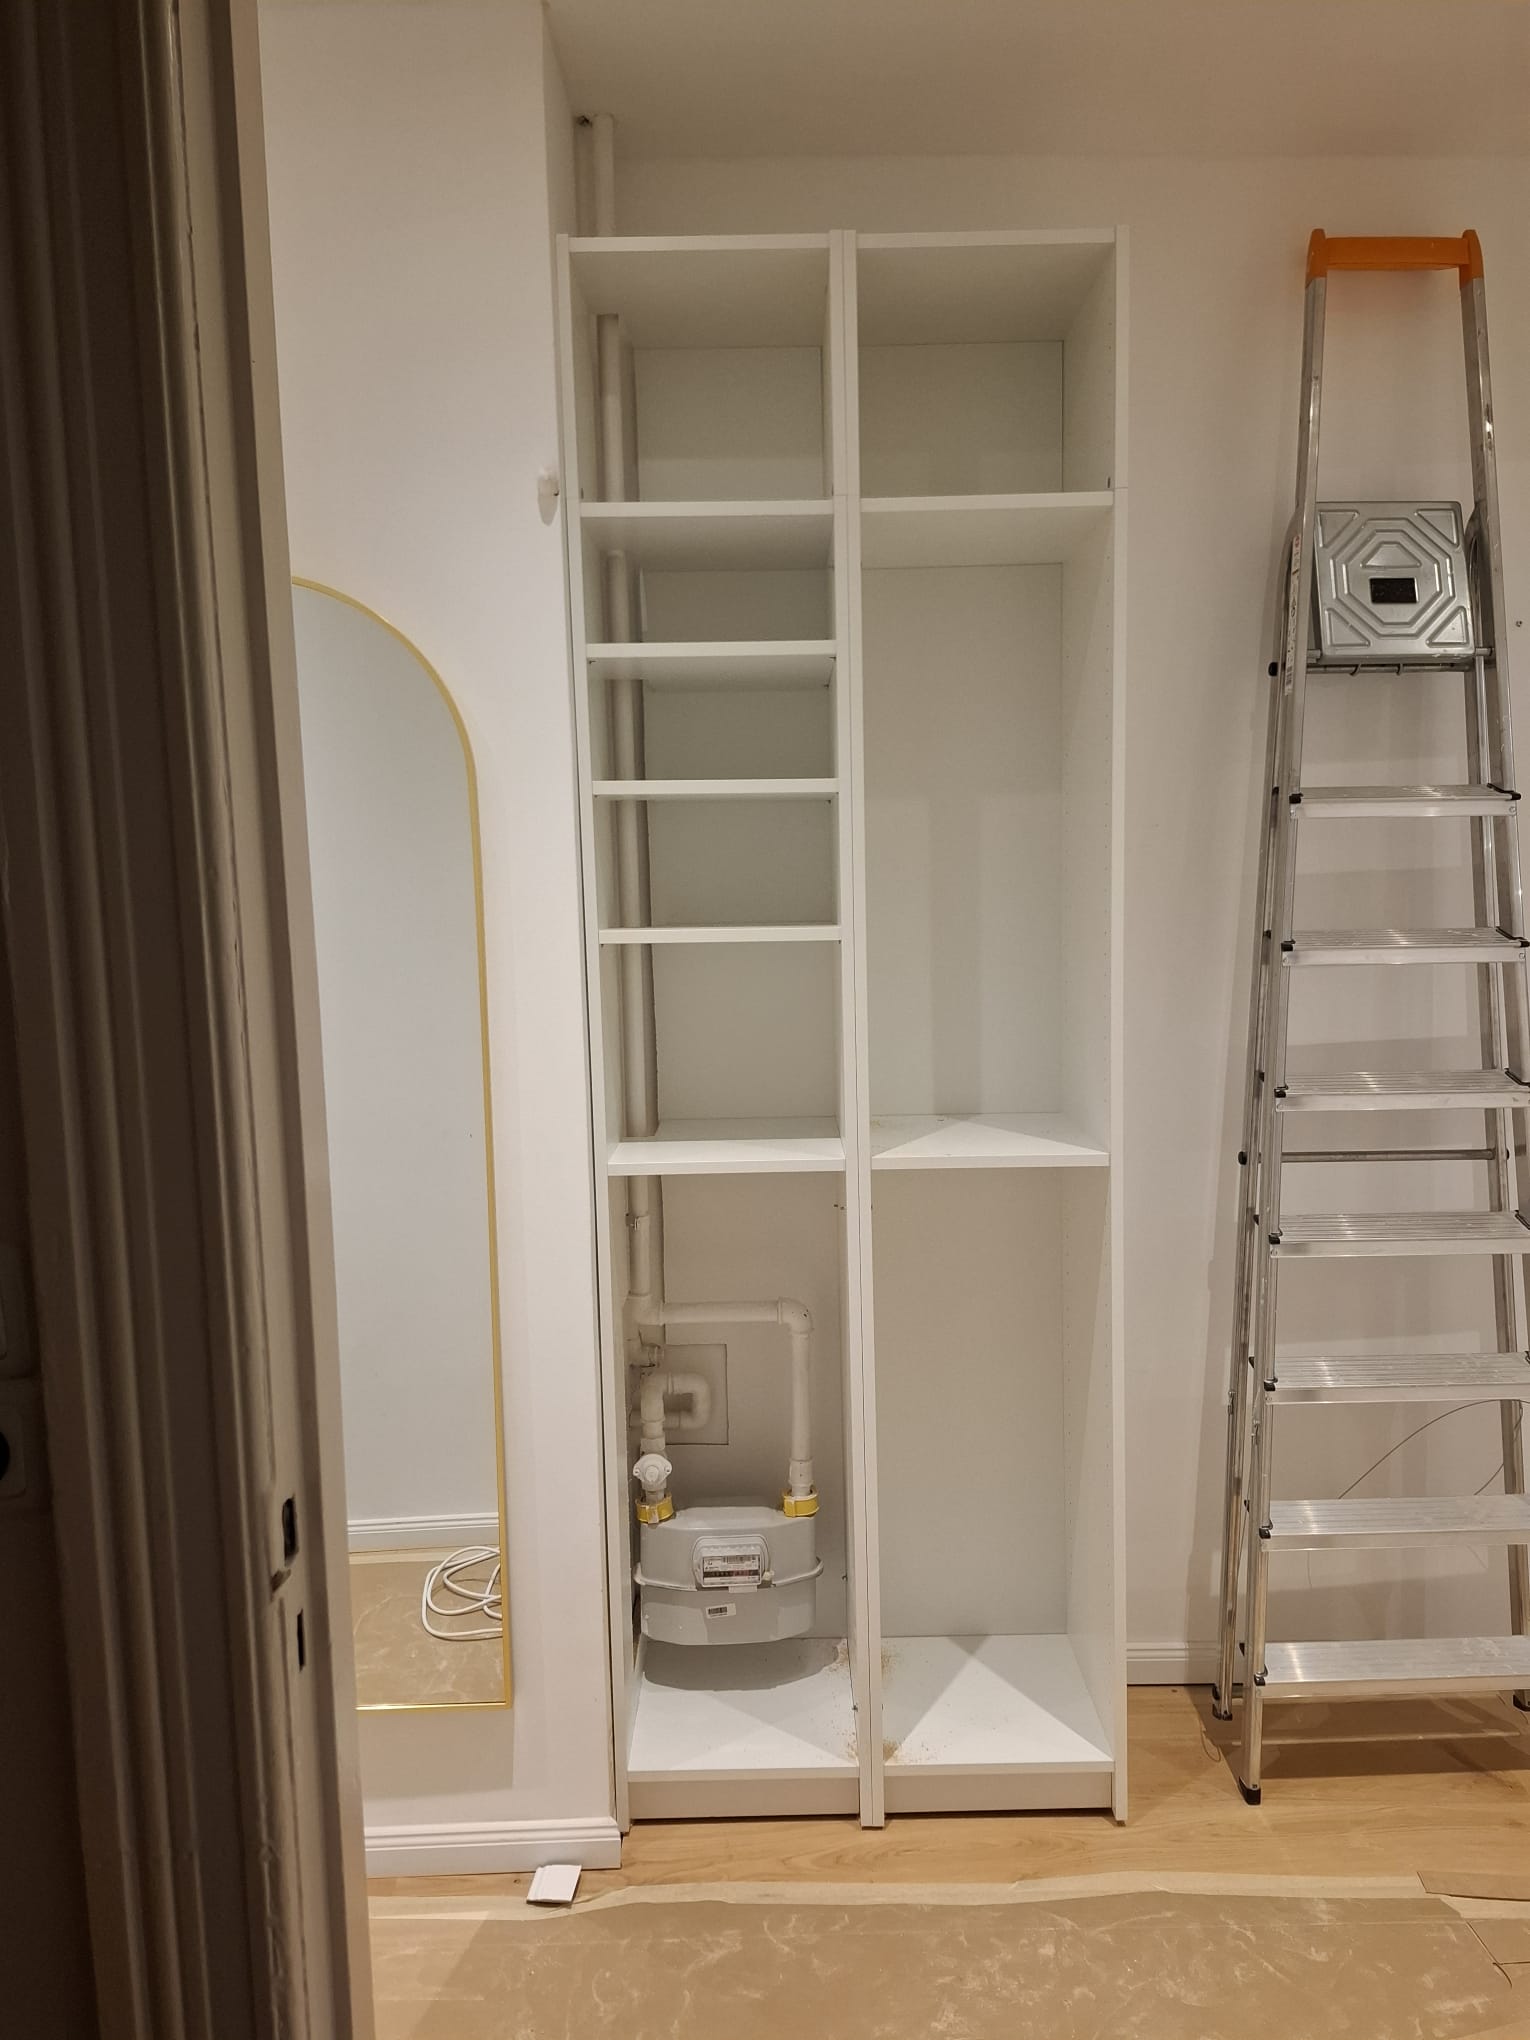
I measured the pipe dimensions carefully, and made the cutouts on the CAD drawings using the extrusion tools in Fusion360. Since significant structural support would be cut out, I also planned to glue and nail all the joins, also nailing the removable shelves fixed to the walls for extra support.
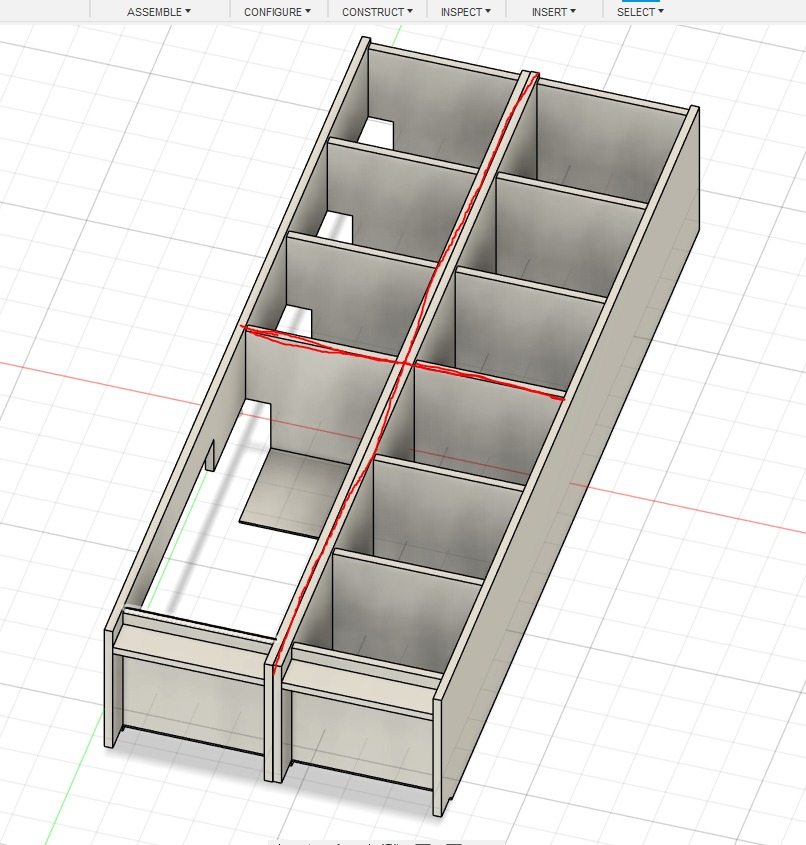
Additionally I also mounted the intact sidewall of the modified closet to the neighboring closet. Both closets are also mounted to the wall at the top.
Time to make the cuts! Double checked all measurements before cutting with the circular saw and router. Safety first - I wore all the proper gear.
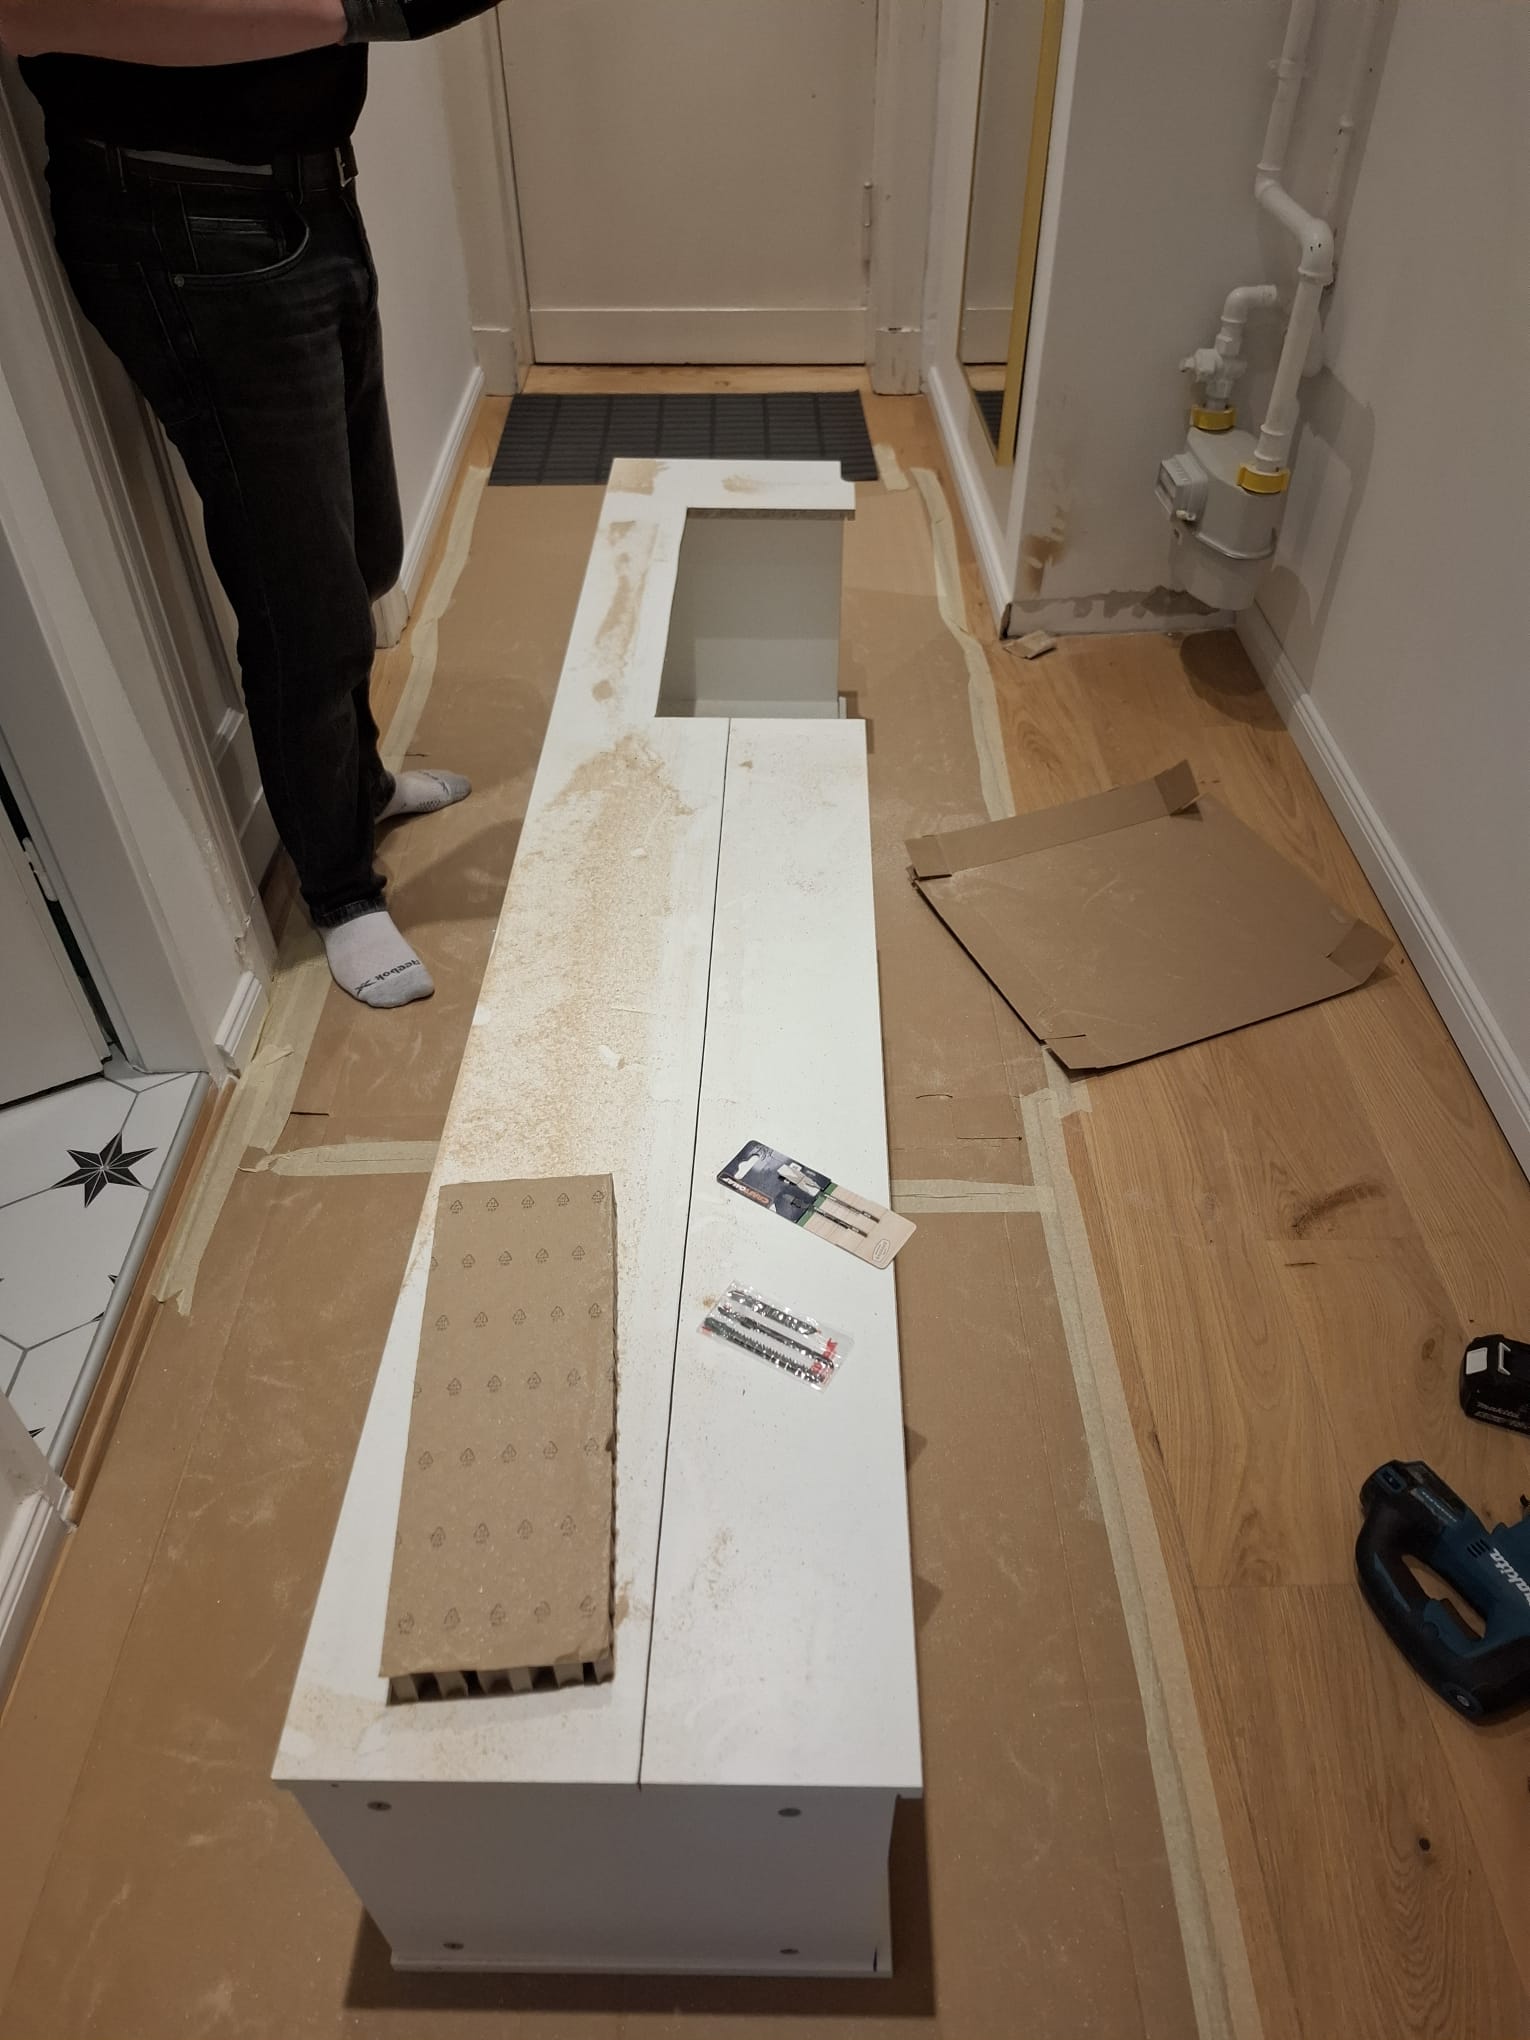
Luckily the cuts would always be hidden while the doors are closed, so it's not super important to have clean cuts everywhere. Perfect for my skill level.
Tools used
- Fusion360 CAD (Personal edition)
- Circular saw
- Stichsage
- Drill
- Lots of nails and mounting brackets + screws
Keywords
#IKEA #Billy #Fusion360 #CAD #Custom #Closet